This article talks about the building process of this blog.
Lots of people in both academic and engineering field have their own blog. But as known to all, building your personal website is a somewhat tedious work, especially for those who unfamiliar with front-end tools. This article introduces one possible example to build your blog in a both efficient and cost-free way in perspective from a non-frontend worker.
Framework: Hugo
Since we do not wish to write raw html, the first thing to do is to pick a blog framework. Modern blog frameworks help us build our websites more efficiently. They can convert markdown files into blog posts automatically. Also, there are lots of templates that we can use which reduce the necessity to design a layout by ourselves.
Though there are various other options like jekyll and wordpress, we only choose Hugo here as an example.
Install
First, following the tutorial from official document, we need to install dependencies of hugo and then hugo itself.
Quickstart
Then, to create our first project we follow the official tutorial
Template: PaperMod
Templates help you build your website with some predefined styles, which greatly simplifies the process of building one’s own website.
The template we use here is PaperMod. You can preview one of its demo here.
Install
INSTALL : Inside the folder of your Hugo site
MyFreshWebsite, run:git submodule add --depth=1 https://github.com/adityatelange/hugo-PaperMod.git themes/PaperMod git submodule update --init --recursive # needed when youreclone your repo (submodules may not get cloned automatically) You may use
--branch v7.0to end of above command if you want to stick to specific release. Read more about git submodules here.UPDATE: Inside the folder of your Hugo site
MyFreshWebsite, run:git submodule update --remote --merge
Configuration
In config.yml add:
theme: ["PaperMod"]
For further custimization,
Deployment: Github Page
Normally, to make our personal website available, we need a server and a domain. Fortunately, deploying your website on GitHub Page solves both problem.
To deploy on GitHub page, you need to first create a repository in the following way.
Create a repository
Head over to GitHub and create a new public repository named username.github.io, where username is your username (or organization name) on GitHub.
If the first part of the repository doesn’t exactly match your username, it won’t work, so make sure to get it right.
Then, as we already have created a project, we just need to commit our code to this reposiroy.
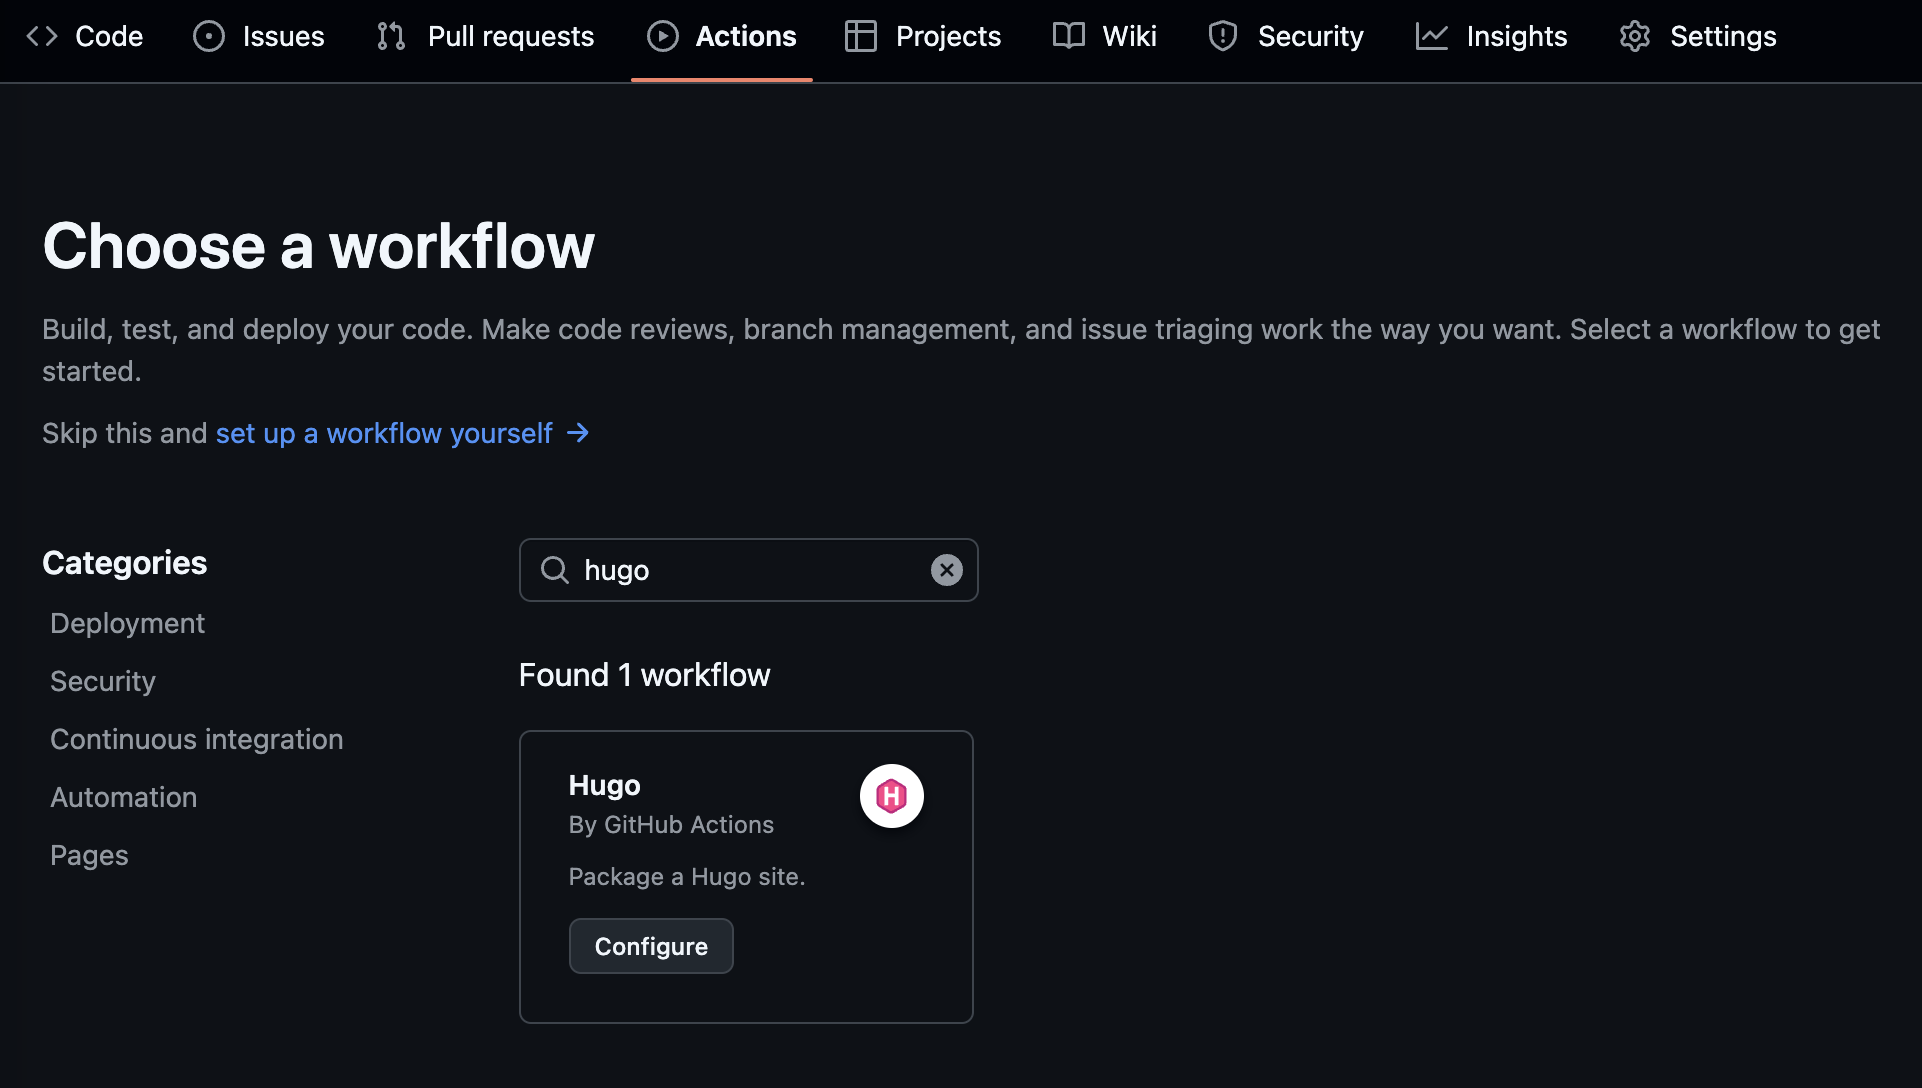
Add a workflow
The last thing to do is just create a workflow that helps you build up your github page. Just search ‘hugo’(click new workflow if your already have some workflow in your repository and cannot see the search bar) and configure the one provided by github action